Photo Gallery
| # | Image | Description | View |
|---|---|---|---|
| 1 | 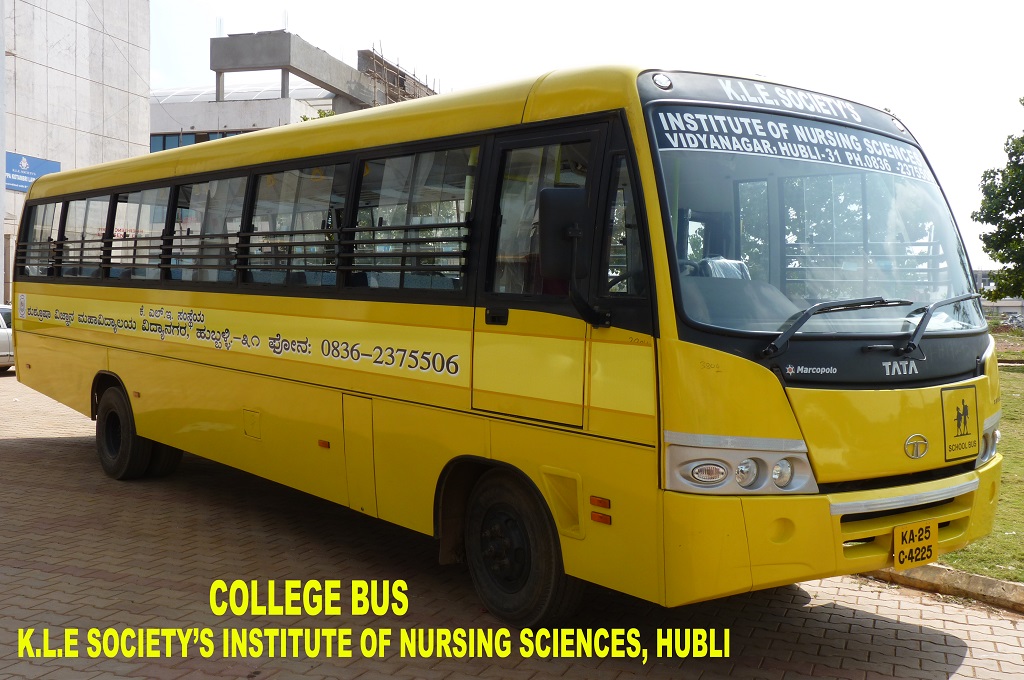 |
Transport | View Image |
| 2 | 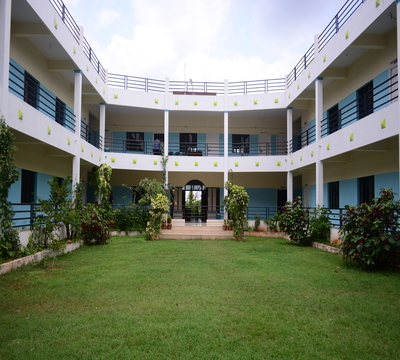 |
College | View Image |
| # | Image | Description | View |
|---|---|---|---|
| 1 | |
Transport | View Image |
| 2 | |
College | View Image |